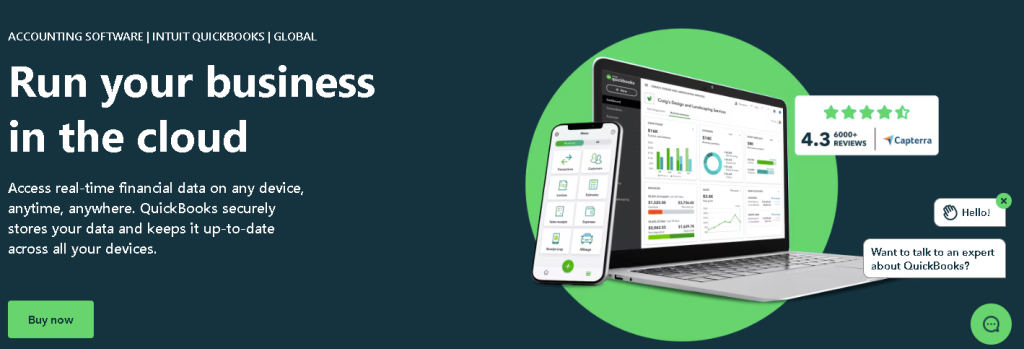
QuickBooks Online (QBO) is a powerful and user-friendly accounting software designed to help businesses streamline their financial management. Whether you’re a small business owner, a freelancer, or managing a larger company, QuickBooks Online simplifies tasks like invoicing, expense tracking, and payroll management. In this guide, we will walk you through how to use QuickBooks Online effectively, ensuring you make the most out of its features.
Why Use QuickBooks Online?
Before we dive into the steps, it’s important to understand why so many businesses choose QuickBooks Online. Some of its benefits include:
- Cloud-based Access: Access your data from anywhere at any time.
- Automation: Automate recurring invoices, payments, and reconciliations.
- Integration: Sync with hundreds of third-party apps like PayPal, Shopify, and more.
- Ease of Use: Designed for non-accountants, so you don’t need a financial background.
- Real-Time Updates: Your data is always up to date, ensuring accuracy.

Setting Up Your QuickBooks Online Account
Step 1: Sign Up or Log In
Visit the QuickBooks Online website and select a pricing plan that best suits your business needs. QuickBooks often offers a 30-day free trial, allowing you to test the software before committing.
Step 2: Set Up Your Company Profile
Once you’ve signed up, you’ll need to set up your company profile. This involves entering basic information about your business such as:
- Business name
- Business type (e.g., sole proprietorship, LLC)
- Industry type
- Company address and contact details
- Fiscal year
Make sure your information is accurate, as this helps QuickBooks create the most effective setup for your accounting needs.

Step 3: Connect Your Bank Accounts
One of the most useful features of QuickBooks Online is the ability to link your bank accounts and credit cards directly to the software. This allows for automatic imports of your transactions, saving you time on manual entry.
To connect your bank:
- Navigate to the “Banking” tab.
- Click “Add Account” and search for your bank.
- Enter your bank credentials, and QuickBooks will securely connect your account.
Step 4: Customize Your Chart of Accounts
The chart of accounts is a list of accounts your business uses to categorize its financial transactions. QuickBooks Online will create a default chart based on your industry, but it’s a good idea to review and customize it according to your specific needs.
To customize:
- Go to the “Accounting” menu.
- Click “Chart of Accounts.”
- Add new accounts, delete irrelevant ones, or edit existing ones as needed.
Managing Invoices and Payments
Step 5: Create and Send Invoices
QuickBooks Online makes invoicing a breeze. To create an invoice:
- Click on the “Sales” tab and select “Invoices.”
- Click “New Invoice.”
- Enter the client’s information, the products or services sold, and any applicable taxes.
- Customize the invoice with your logo and business information.
- You can either send the invoice directly from QuickBooks or download it as a PDF to send manually.
QuickBooks also allows you to set up recurring invoices for clients you bill on a regular basis.
Step 6: Record and Track Payments
When a customer pays an invoice, you need to record the payment in QuickBooks to ensure your books are accurate.
- Go to the “Sales” tab.
- Click “Receive Payment.”
- Select the corresponding invoice and input the payment method (e.g., cash, credit card, or bank transfer).
If you’ve linked your bank account, payments will automatically be matched to invoices when they’re received.
Tracking Expenses
Step 7: Record Business Expenses
Tracking your business expenses is essential for managing your cash flow and preparing for tax time. You can either manually enter expenses or let QuickBooks automatically import them from your linked bank account.
To record an expense manually:
- Go to the “Expenses” tab.
- Click “New Expense.”
- Select the vendor, the payment account, and enter details of the expense.
- Attach any relevant receipts.
For recurring expenses like rent or subscriptions, you can also set up recurring transactions.
Step 8: Categorize and Reconcile Transactions
QuickBooks will try to automatically categorize your expenses, but it’s important to review and make sure they are correct. For instance, if you purchase office supplies, ensure it’s categorized under “Office Supplies” and not another category.
To reconcile your transactions:
- Go to the “Banking” tab.
- Review imported transactions.
- Ensure all deposits and withdrawals match your bank statement.
Reconciling your accounts monthly ensures your books are accurate and error-free.
Payroll Management
Step 9: Set Up Payroll (If Applicable)
If you have employees, QuickBooks Online offers an integrated payroll feature to manage salaries, taxes, and deductions.
- Go to the “Payroll” tab.
- Follow the prompts to enter employee information, salary details, and tax settings.
- QuickBooks will handle calculations, tax filings, and direct deposits.
Payroll can be run automatically, and QuickBooks will remind you of upcoming paydays.
Generating Reports
Step 10: Run Financial Reports
QuickBooks Online has a variety of built-in reports to give you insights into your business’s financial health. Some key reports include:
- Profit & Loss Statement: Shows your revenue and expenses, giving you a snapshot of your business’s profitability.
- Balance Sheet: Provides a summary of your assets, liabilities, and equity.
- Cash Flow Statement: Tracks how money is moving in and out of your business.
To generate a report:
- Go to the “Reports” tab.
- Select the report you want, adjust the date range, and run the report.
- You can export reports to Excel or PDF for further analysis or sharing.
Tips for Getting the Most Out of QuickBooks Online
- Use the Mobile App: QuickBooks Online has a robust mobile app, allowing you to manage invoices, track expenses, and review reports on the go.
- Leverage Integrations: Connect apps like PayPal, Shopify, or even your CRM system to QuickBooks to streamline processes further.
- Automate Reminders: Set up payment reminders for clients, so you get paid on time without chasing after invoices.
- Utilize QuickBooks Support: QuickBooks offers extensive tutorials, webinars, and live support if you run into any issues.
Conclusion
QuickBooks Online is a versatile tool that simplifies accounting for businesses of all sizes. By following the steps outlined in this guide, you’ll be able to manage your finances more efficiently, allowing you to focus on growing your business. Whether you’re tracking expenses, managing payroll, or generating reports, QuickBooks Online has the tools to help you stay organized and make informed financial decisions.

