Creating a bill in Eclipse Software is straightforward. With a few steps, you can generate accurate invoices quickly.
Eclipse Software is a widely-used tool for managing billing and invoices. Whether you are a small business owner or part of a larger organization, knowing how to create a bill is essential. This process helps maintain clear financial records and ensures timely payments.
In this guide, we will walk you through the steps to create a bill in Eclipse Software. You will learn how to input customer information, add items or services, and finalize the bill. By the end of this introduction, you will have a solid understanding of the basics needed to generate your first bill with ease. Let’s get started!
Setting Up Eclipse
First, go to the Eclipse website. Find the download button. Click it. Choose the right version for your system. Wait for the download to finish. Open the file. Follow the on-screen steps. Click “Next” until you see “Install”. Click “Install”. Wait for the installation to complete. Then, click “Finish”. Eclipse is now on your computer.
Open Eclipse. A window will pop up. It asks for a workspace location. Choose a folder. This is where your projects will be saved. Click “Launch”. Eclipse will open with your chosen workspace. You are now ready to start coding. Always use this workspace for your projects.

Credit: www.javatpoint.com
Creating A New Project
Open the Eclipse software. Click on the File menu. Select New from the drop-down. Then choose Project. This will open a new window. Follow the prompts to set up your project.
Type a name for your project. Make it clear and simple. Avoid using spaces and special characters. Click Finish to create the project. Your new project will now appear in the Project Explorer.
Adding Required Libraries
Open Eclipse and start a new project. Go to your project folder. Right-click and select “Build Path”. Choose “Add Libraries”. Pick the needed libraries from the list. You might need the JDK or third-party libraries. Click “Finish” to add them.
Dependencies are other libraries your project needs. Go to the “Dependencies” tab. Click on “Add External JARs”. Browse and select the JAR files you need. These files help your project run smoothly. You can also use Maven or Gradle for managing them. This makes it easier to update and organize.
Designing The Bill Layout
Start by selecting a template that fits your needs. Eclipse software offers various templates. Choose one that looks neat and professional. Templates help you save time. They give a clear structure to your bill. You can find templates in the settings menu. Select the template you like and click on it. Your bill will now use this template.
Customizing the layout makes your bill unique. Adjust the fonts and colors to match your brand. Add your company logo at the top. Ensure all fields are clear and easy to read. Modify the header and footer if needed. Customize the item list to show the necessary details. Add extra fields if required. Save your changes to keep the new layout.
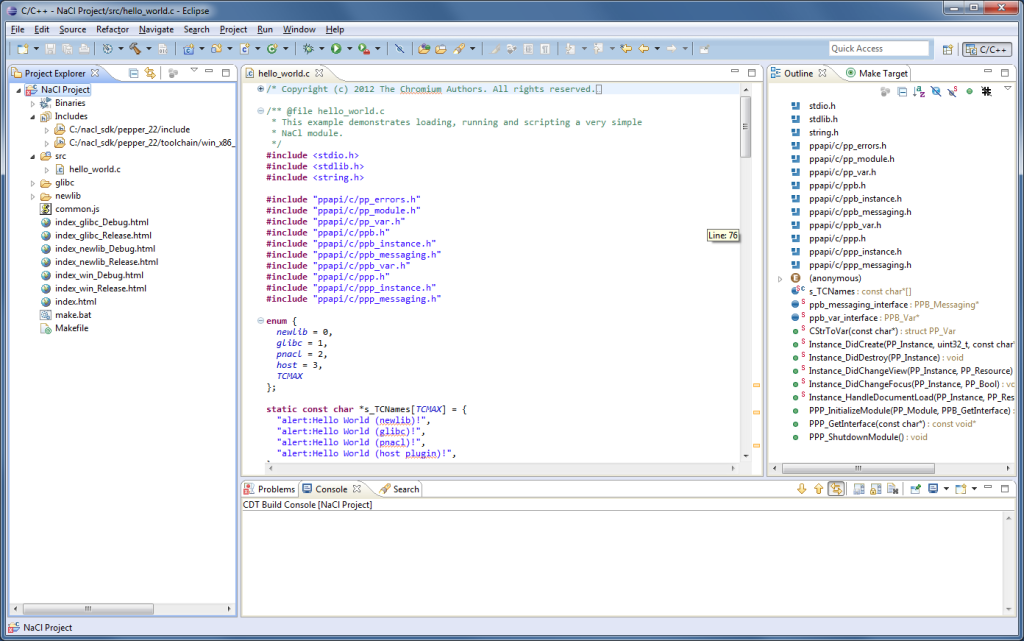
Implementing The Code
First, open Eclipse software and start a new project. Then, create a new class for your bill. Name it Bill. Inside the class, define the necessary fields. You will need fields like item, quantity, and price. Next, create a constructor to initialize these fields. Add methods to calculate the total amount. Make sure to include getters and setters for each field. This helps in accessing and modifying the data.
Run your code to check for errors. Use the Eclipse debugger to find mistakes. Set breakpoints to pause the code at certain points. This lets you see the values of variables. Fix any errors you find. Test your code again. Repeat this process until there are no more errors. Debugging helps make sure your code works correctly. It is an important step in coding.

Credit: www.geeksforgeeks.org
Generating The Bill
Start by opening the Eclipse software. Make sure your project is loaded. Click on the “Run” button. The application will start. This step ensures the program is working.
After running the application, check the console window. The bill details should appear there. Look for any errors. If the output is correct, your bill is ready. Save or print the output as needed.
Saving And Exporting
To save your bill, click on the Save button. Choose a folder on your computer. Name your file and click Save again. Make sure you remember the location.
Click on the Export button. Select PDF from the options. Choose a folder to save the file. Click Save. Your bill is now a PDF file.
Credit: rdf4j.org
Conclusion
Creating a bill in Eclipse Software is straightforward and user-friendly. Start by setting up your account. Next, navigate to the billing section. Follow the step-by-step guide provided. Customize your bill to fit your needs. Save and review your entries for accuracy.
Finally, generate and print or email your bill. With these easy steps, you can efficiently manage billing tasks. Practice makes perfect. Soon, creating bills will become second nature. Eclipse Software simplifies the process, saving you time and effort. Happy billing!