Creating invoice software in Excel is simple and efficient. You can manage your finances with ease.
With Excel, you don’t need expensive software to create invoices. It’s a powerful tool that many already have on their computers. Learning to make invoice software in Excel can save you time and money. You will be able to customize your invoices to fit your business needs.
This blog will guide you through the steps needed to create your own invoice system. By the end, you will have a functional and professional invoicing solution. Let’s get started with this simple yet effective process!
Setting Up Excel
Open Excel and click on File in the top left corner. Select New to create a new workbook. Choose a blank workbook to start fresh. Name the workbook by clicking on the default name and typing a new one.
Save your work often. Click on File and then select Save As. Choose a location on your computer. Pick a name that you will remember. Click Save.
Designing The Invoice Template
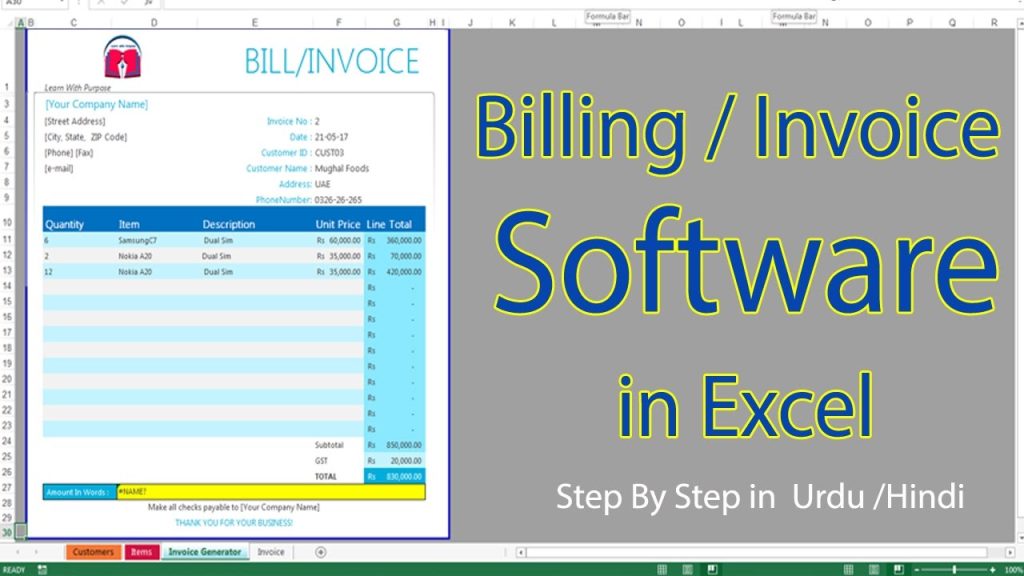
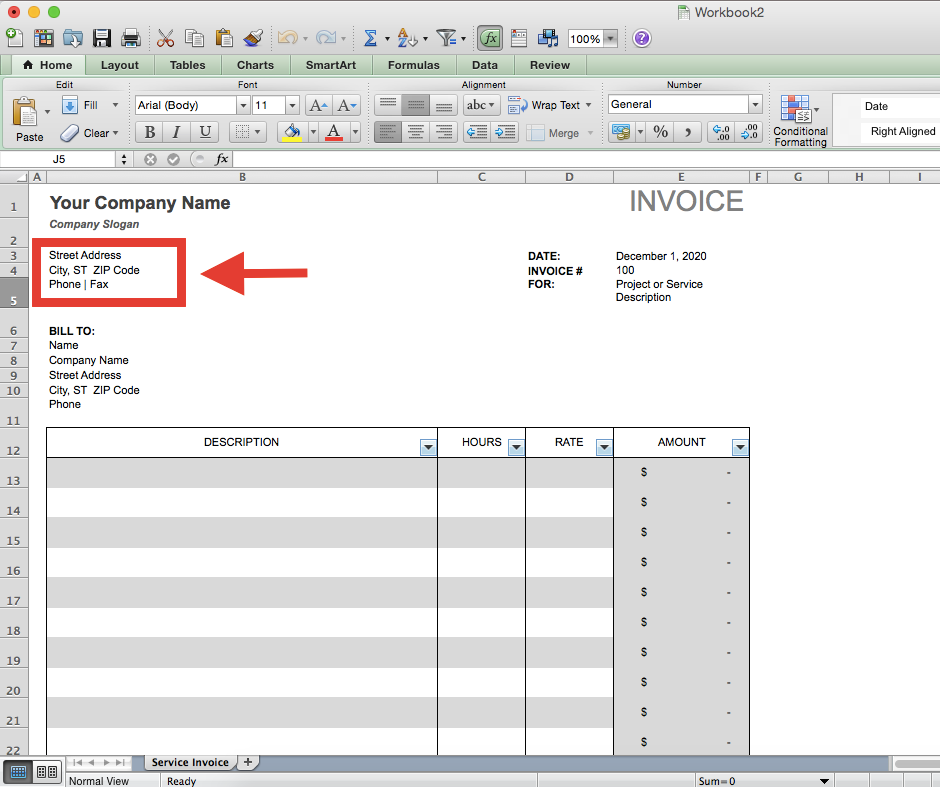
Headers and footers are very important. They make your invoice look professional. Add your company’s name in the header. Include your contact details too. In the footer, add payment terms. Also, add your bank details. This helps clients know where to pay. Always make sure your logo is at the top. This makes it easy to identify your company.
Format cells to make data entry easy. Use bold text for headers. Make sure dates are formatted correctly. Use the “Date” format for date cells. For currency, use the “Currency” format. This ensures all amounts are clear. Align text to make it readable. Keep columns wide enough for data. This avoids text getting cut off. Always use clear fonts.
Adding Invoice Details
Add invoice details by listing items, quantities, and prices in your Excel invoice software. Include client information and payment terms for clarity. Use Excel formulas for automatic calculations to save time.
Customer Information
First, create a section for Customer Information. Add fields for the Customer Name, Address, Phone Number, and Email. Make sure to label each field clearly. Use bold text for labels to make it stand out. This helps in filling out the details easily.
Itemized List Of Services Or Products
Next, add a table for an Itemized List of Services or Products. Each row should include columns for Description, Quantity, Unit Price, and Total Price. Here is an example:
| Description | Quantity | Unit Price | Total Price |
|---|---|---|---|
| Service 1 | 2 | $50 | $100 |
| Product A | 1 | $30 | $30 |
Make sure to format the table neatly. This makes it easy to read and understand. Use a calculator to ensure total prices are correct.

Credit: www.youtube.com
Using Formulas
To make invoice software in Excel, use formulas to calculate totals. Add up the cost of all items using the SUM formula. For example, =SUM(B2:B10) adds all costs in column B from row 2 to row 10. This gives the total amount due before taxes and discounts.
To apply taxes, use the formula =TotalTax Rate. If the tax rate is 5%, and the total is in cell B11, the formula is =B110.05. This shows the tax amount.
To apply discounts, use a similar formula. If the discount is 10%, the formula is =TotalDiscount Rate. For a total in cell B11, use =B110.10. Subtract this discount from the total to get the final amount.
Automating Invoice Numbers
Creating invoice software in Excel can simplify numbering tasks. Automate invoice numbers using formulas and macros. This saves time and reduces errors.
Creating A Unique Invoice Number Using Excel Functions
Start by opening your Excel sheet. Choose a column for invoice numbers. Use the formula =ROW(A1) to create a unique number. Each row will get a new number. This formula is simple and easy.
Another way is using AutoFill. Enter the first invoice number. Drag the fill handle down to fill cells. Excel will number them in order.
You can also use the CONCATENATE function. Combine text and numbers for a unique ID. For example, use =CONCATENATE(“INV”, TEXT(ROW(A1), “000”)). This gives you “INV001”, “INV002”, and so on. This method is great for more complex IDs.

Credit: www.deskera.com
Generating Printable Invoices
First, open your Excel file. Select the cells you want to print. Go to the “Page Layout” tab. Click on “Print Area” and choose “Set Print Area”. This tells Excel which cells to print. Save your work.
Click on “File” and then “Print”. You will see a print preview. Adjust the settings to fit your page. Choose the paper size. Set the orientation to portrait or landscape. Check the margins. Make sure everything looks good.
Saving And Sharing Invoices
To save your invoice as a PDF, click on the “File” menu. Select “Save As” from the options. Choose “PDF” as the file type. This keeps your invoice in a fixed format. It is easy to share and print. Ensure you name the file clearly for easy identification.
You can email invoices directly from Excel. Click on “File” and then “Share”. Choose “Email” and select “Send as PDF”. This opens your default email program. The invoice is attached as a PDF. Add the recipient’s email and a brief message.
Advanced Tips And Tricks
Macros make tasks easy. They save time. Record your steps once. Then, run them again with one click. For example, you can record a macro to input data. It helps to avoid errors. Macros can also format your sheet. They add colors and borders. This makes your invoices look neat.
Protecting your template is important. It keeps data safe. First, go to the “Review” tab. Click “Protect Sheet.” Set a password. This stops others from changing your work. You can also lock cells. Select the cells to lock. Right-click and choose “Format Cells.” Under the “Protection” tab, check “Locked.” Now, only the cells you want can be edited.
Credit: www.deskera.com
Frequently Asked Questions
What Is Invoice Software In Excel?
Invoice software in Excel is a template-based tool. It allows users to create, manage, and track invoices. It leverages Excel’s features to automate calculations and data organization.
How To Create An Invoice Template In Excel?
To create an invoice template, start with a blank sheet. Add headers for invoice details. Format cells for calculations. Save as a template for future use.
Can Excel Automatically Calculate Totals In Invoices?
Yes, Excel can automatically calculate totals. Use formulas like SUM and multiplication. This ensures accurate and quick calculations for your invoices.
What Are The Benefits Of Using Excel For Invoices?
Using Excel for invoices is cost-effective. It offers customization and easy data management. Excel’s formulas ensure accuracy. It’s accessible and widely used.
Conclusion
Creating invoice software in Excel is simple and effective. Follow the steps, and you’ll have a functional tool. Customize it for your business needs. Excel offers flexibility and control. Save time and stay organized. Practice regularly to improve your skills.
Your business will benefit from this efficient solution. Happy invoicing!

